Start with a Steady Base
A desk should remain composed while typing, writing, or adjusting a monitor arm. Distribute heavy equipment deliberately, keep the frame level, and avoid placing the feet across uneven transitions in flooring.
A standing desk becomes valuable when the entire workspace is arranged as one coordinated system. Surface height, screen position, keyboard reach, foot support, lighting, storage, and movement should work together with quiet precision.
This guide is designed for home offices, private studios, executive workspaces, and focused professional environments where comfort and visual clarity matter equally.
Before adjusting the desk, define the environment around it. A successful setup starts with sufficient floor clearance, a stable power route, controlled daylight, and enough open space to change position without moving furniture every time.
Place the desk where natural light reaches the room from the side rather than directly behind the screen. Keep frequently used storage within a comfortable step or reach, while allowing the primary work surface to remain visually calm. The goal is not emptiness. It is intentional access.
A standing desk should feel integrated into the room rather than placed on top of it. Consider the chair, floor surface, wall color, nearby shelving, and lighting as part of the same composition.
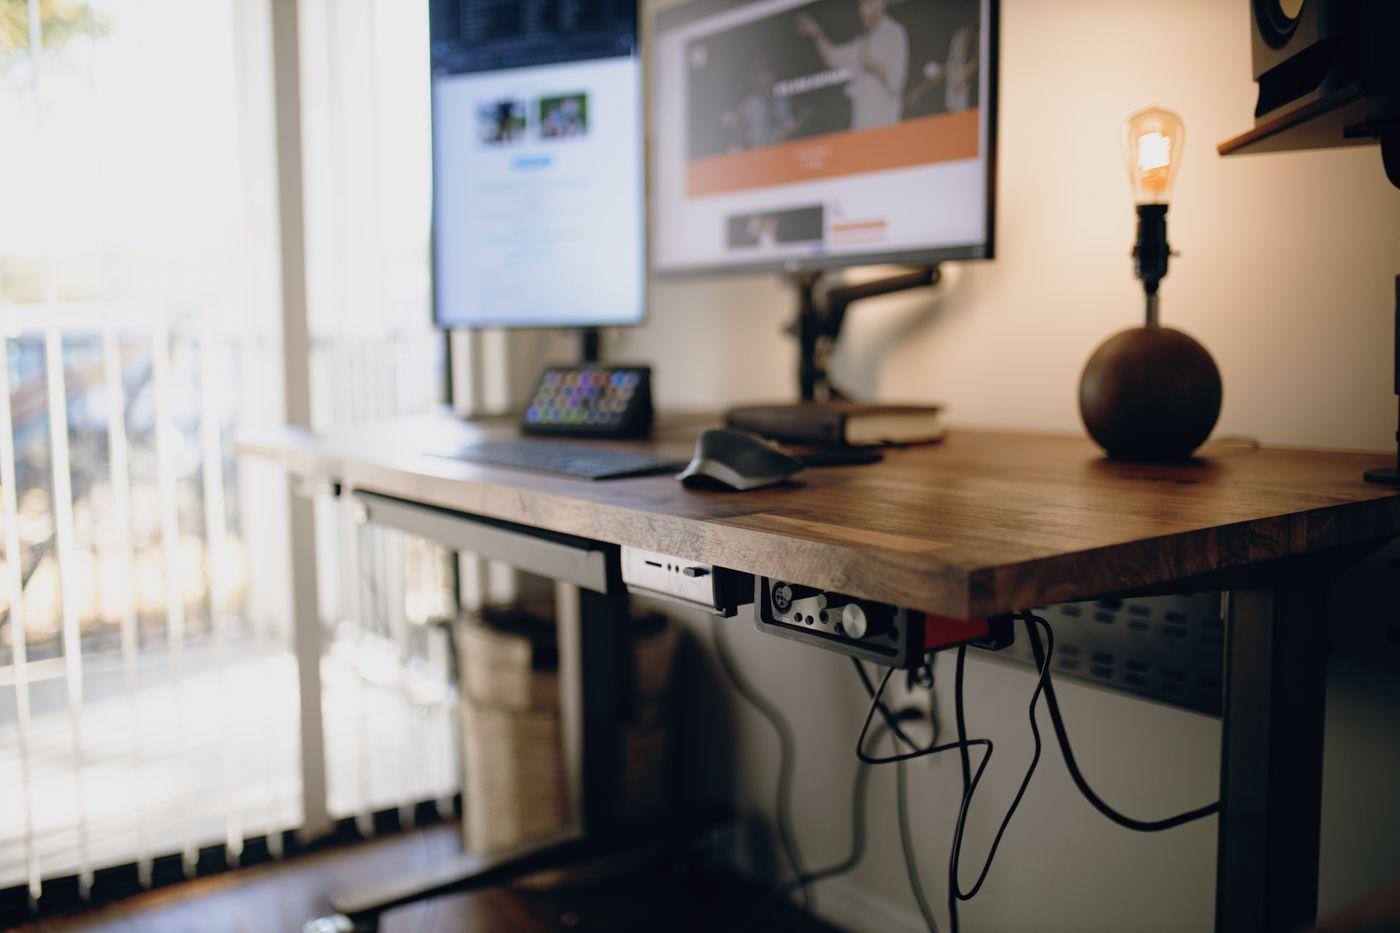
A desk should remain composed while typing, writing, or adjusting a monitor arm. Distribute heavy equipment deliberately, keep the frame level, and avoid placing the feet across uneven transitions in flooring.
Check the full travel of the desk before finalizing cable lengths, drawer placement, wall shelves, or nearby decor. Nothing should pull, collide, or restrict movement between seated and standing positions.
Keep only active tools in the immediate work zone. Secondary devices, paperwork, chargers, and supplies should move into organized support zones so the center of the desk remains open and functional.
Set up the workspace in the correct order. Begin with the body, then bring the desk and equipment toward it. This prevents the common mistake of adapting posture to an already fixed screen, keyboard, or chair position.
Adjust the chair so the feet feel supported, the pelvis rests comfortably, and the lower back meets the lumbar contour without being pushed forward. The seat should support the thighs without pressing into the backs of the knees.
Raise or lower the desktop until the keyboard and mouse can be used with relaxed shoulders and comfortably bent elbows. The wrists should remain neutral rather than lifted sharply toward the forearms.
Center the primary monitor with the body and place it at a distance that allows text to be read without leaning forward. Raise the screen until the head can remain balanced over the shoulders during focused work.
Stand with weight distributed naturally and raise the desk until the input devices return to the same relaxed relationship with the arms. Save this height as a preset when the desk includes memory controls.
Add task lighting after monitor placement so reflections can be evaluated accurately. Route cables only after every component has reached its final position and the desk has been tested through its full range of motion.
Organize the desk according to frequency of use. This simple hierarchy reduces visual noise and prevents the central work area from becoming a storage surface.
Reserve the outer edges for notebooks, document holders, headphones, charging docks, and items used intermittently.
Keep the keyboard, mouse, active document, and primary task directly in front of the body with enough clear surface for natural hand movement.
Position monitors, laptop stands, camera equipment, and task lighting toward the rear while protecting a clear visual field.

Standing is not a replacement for sitting. The strongest setup supports a varied day: focused seated work, shorter standing intervals, calls taken away from the screen, and brief resets between demanding tasks.
Keep the chair close enough to return to without reorganizing the room, but far enough from the desk that the standing area remains open. A mat can define that standing zone visually and physically, while a nearby footrest provides another option for changing lower-body position when seated.
The workspace should make transition effortless. When changing position takes only a few seconds, movement becomes part of the working rhythm rather than an interruption to it.
A refined standing desk setup is created through coordinated layers. Each category solves a distinct part of the working experience, from posture and reach to organization, lighting, and movement.
The seated foundation of the workspace, supporting controlled posture changes, focused work, and an easy return from standing.
Targeted comfort layers that refine an existing chair when additional seat contour or lower-back support is needed.
Supportive floor-level tools that help create more comfortable seated and standing zones throughout the workday.
The adaptable center of an active workspace, offering a full-size surface for seated and standing work.
A focused solution for adding height variation to an existing desk while preserving the original room layout.
Adjustable display support that frees surface area and creates greater control over screen height, distance, and alignment.
Precision tools for bringing the input zone closer to the body and supporting a more neutral hand position.
Quiet infrastructure that keeps active tools accessible, visual clutter controlled, and moving cables safely contained.
Focused illumination for documents, keyboards, creative work, and evening sessions without overwhelming the room.
Avoid treating standing as a performance target. Use it as one position within a broader working pattern. Change position when concentration drops, the body begins to feel static, or the task naturally changes.
Begin in the position that feels most natural for concentrated work. Confirm screen alignment, clear the primary zone, and reduce unnecessary notifications before the first demanding task.
Raise the desk when shifting to email, planning, reading, or a call. Allow the task change to become the cue for a posture change.
Step away from the desk, change visual distance, and return only after the workspace has stopped feeling like one continuous position.
Use standing for shorter active intervals and seated support for precision tasks that benefit from greater stability.
Return tools to their zones, release cable tension, clear cups and paperwork, and leave the workspace ready for a calm start the following day.
Keep the primary display aligned with the main working position whenever possible.
Bring the input tools toward the body instead of reaching the shoulders toward the desk.
Use stable footwear, a footrest, or a standing mat to refine contact with the floor.
Change position throughout the day instead of trying to hold one posture indefinitely.
Review the full system after several real working sessions. A setup may appear correct while empty but reveal reach, glare, cable, or storage issues once the workday begins.
Every room, body, and working pattern is different. Use these answers as practical starting points, then refine the setup through direct experience.
A standing desk is most useful as a tool for changing position rather than remaining upright continuously. Alternate between supportive sitting, comfortable standing, and short periods away from the workstation.
Begin with manageable intervals and adjust according to the task, energy level, footwear, floor surface, and personal comfort.
For longer sessions, place the laptop on a stable stand so the display can be raised independently. Pair it with an external keyboard and mouse so screen position does not force the hands into an uncomfortable height.
Mount it where the display can reach the primary viewing position without placing excessive weight on one unsupported edge of the desk. Confirm desktop thickness, mounting clearance, wall distance, and cable movement before tightening the installation.
A supportive mat can make the standing zone feel more comfortable, particularly on hard flooring. Choose a size that allows natural stance changes without extending into the chair path or creating an awkward obstacle when seated.
Secure power connections in a tray or controlled hub attached beneath the moving desktop, then create one organized route toward the wall outlet. Leave enough managed length for the desk to rise without tension, but avoid loose loops near the legs or floor.
Keep the primary input tools, active display, current work materials, and essential lighting within the main zone. Move chargers, archived documents, spare accessories, and rarely used supplies into dedicated storage.
Build gradually, test every adjustment through real work, and invest in the areas that create the greatest improvement in comfort, focus, and daily organization. A strong workspace is not defined by the number of accessories it contains, but by how quietly each element performs its role.